User Manual

1. CONNECTION

Connecting a Vehicle

After the successful login with your registered credential or by social media integration, the main button of the app will allow you to connect a vehicle provided of Bluetooth unit.

Just click the main button and follow the instructions.


Pairing process (BT-Router)

Select your vehicle from the list on the screen. Remember that currently, connectivity is only available for the models that you see on this list.

Make sure the dashboard is switched on and follow these steps:

  • Select the 'Settings' menu of the dashboard
  • On the 'Configuration' page, select 'Pairing configuration'
  • On RS/TUONNO 125 Euro5 press and hold the 'mode' button on the handlebar and switch on the vehicle dashboard; wait for the 'MIA' icon to flash on the dashboard and immediately release the 'mode' button
  • In the Bluetooth settings of your smartphone, search for and pair with the device 'BT ROUTER'.
  • If asked enter the code ‘0000’ in order to confirm the pairinig


For using all the functionalities of your connected APRILIA, when the app is connected, please remember to pair at least one headset by entering the ‘Device configuration’ page from the main button or from the menu page.

For 660 and V4 Euro5 models, the headset systems pairing procedure can be carried out directly from the corresponding menu on the vehicle dashboard by selecting the relevant item immediately after the one dedicated to phone pairing.

If a headset has been previously paired with the smartphone it is strongly recommended to remove it before performing the pairing process.

Connection issues?

If you are experiencing difficulty pairing your vehicle, please check that:

  • Your smartphone has Bluetooth on
  • Your vehicle is on and the pairing process has been enabled
  • No other Bluetooth device is connected to the smartphone
  • If the issues persist you can try to clean the paired devices list by selecting the ‘reset pairing’ entry in the ‘pairing configuration’ page of the dashboard
  • Restarting the smartphone and/or the dashboard may also help in establishing connection


Connecting a headset to your APRILIA

After pairing the vehicle, you can connect a headset to it.

Before starting the procedure please delete possible pairing of the headset from the smartphone in order to avoid conflicts while connecting the device.

In order to proceed, select the ‘Device Configuration’ sub-menu after pressing the main button while connected to the vehicle or, on predisposed vehicles, select the dedicated item in the dashboard menu.


Pairing a headset (not needed on PMP3 equipped vehicles)

Set the device you'd like to connect in pairing mode.

Then select 'configuration' and 'search'.

Wait for the device you'd like to pair to appear in the list, then select it.

In the following screen, select the role of the device and pair it.

If you're experiencing difficulties, try repeating the search and pairing procedure.

It is possible to pair a second headst (not available on RS/Tuono 125) with the same procedure assigning to it the ‘headset passenger role’.

In this way you will enable the possibility to start the communication between the two headset managed by the Bluetooth Router of the bike.


Pairing process PMP3 vehicles (SXR)

  • Press and hold the 'mode' button on the handlebar and switch on the vehicle dashboard
  • Wait for the 'MIA' icon to flash on the dashboard and immediately release the 'mode' button
  • From the Bluetooth settings of the smartphone, search for and pair the PMP3 device: XXXX(for ANDROID devices the connectivity control unit will be visible twice: select the one with the headset symbol).
  • Accept the pairing request and allow the sharing of contacts.
  • Select the connection button on bottom right of the app home screen and wait for the connection procedure to be completed successfully.
  • If several devices are found nearby, the app will present a list: select the PMP3 device with the same name as the one previously paired.
  • Respond affirmatively to all the consents requested by the app; otherwise you will not be able to use the system correctly.
  • Please note that the connection to the app must be completed within the same key-on cycle. If the dashboard is switched off, the procedure must be repeated from the beginning by removing the previously paired devices from the Bluetooth menu of the smartphone.


For the above mentioned vehicles, it is NOT necessary to pair the headset directly with the bike and it is possible to leave it connected to your smartphone.

On iOS devices it is necessary to set the priority of call audio routing on the Bluetooth headset. Otherwise the audio of the calls will not be heard on the headset but will be forwarded to the phone. The option can be found in the menu Settings-> Accessibility -> Touch -> Call audio routing: Select BLUETOOTH HEADSET

For ANDROID devices, however, it is always necessary to connect the app to the vehicle in order to manage calls, notifications and music from the handlebar. App connection is in any case strongly suggested on iOS devices as well. In case of connection issues, please verify that the location services are active on the smartphone and retry the pairing procedure preliminary deleting the device from the associated list and perform the reset pairing procedure as well. IF THE APP IS NOT DETECTING THE DEVICE ON ANDROID SMARTPHONES, CHECK THAT THE LOCATION SERVICES ARE ACTIVE. THIS CONDITION IS ESSENTIAL FOR SOME VERSIONS OF THE OPERATING SYSTEM.


Reset pairing procedure SX, RS/Tuono 125 Euro 5

To remove the pairing of all devices from the MIA system it is necessary to:

  • Press and hold the 'mode' button on the handlebar and switch on the vehicle dashboard
  • Continue to hold the 'mode' button on the handlebar for at least 10 seconds or until the 'MIA' icon remains steady for two seconds after flashing or turns off.
  • Switch off the vehicle dashboard

2. MULTIMEDIA FUNCTION MANAGEMENT

Remote control of multimedia functions

Once the rider headset has been successfully paired and connected to the bike together with your smartphone (as indicated by the dedicated icons on the vehicle dashboard), you will be able to manage phone and audio function directly from the  selector on the left side of the handlebar.

The list of functions available is reported in the tables below:


660-V4 Euro5


Music management

Play-Pause music -> short press of left button

Next track -> short press of up button

Previous track -> short press of down button

Volume up -> long press of up button

Volume down -> long press of down button


Voice management

Answer incoming call -> short press of left button

Reject incoming call -> long press of left button

Recall last missed -> long press of left button

Volume up -> long press of up button

Volume down-> long press of down button

Activate intercom -> function selection from a dedicated menu on the dashboard

Activate voice assistant -> function selection from a dedicated menu on the dashboard


SHIVER/DORSODURO


Music management

Play-Pause music -> short press of center button

Next track -> long press of right button

Previous track -> long press of left button

Volume up -> short press of right button

Volume down -> short press of  left button

Close Music Management -> long press of center button


Voice management

Answer incoming call -> short press of center

Reject incoming call -> long press of  center button

Recall last missed -> long press of center button

Dismiss Last Lost Call -> short press of center button

Volume up with active call-> short press of up button

Volume down with active call-> short press of down button

Activate intercom -> long press of left button and then selection from a dedicated menu on the dashboard with short center button

Activate voice assistant -> long press of left button and then selection from a dedicated menu on the dashboard with short center button


All the multimedia functions (eg. start of a playlist or starting a call) must be activated through voice commands keeping the hands on the handlebar.

The intercom function is available if two headsets with different roles (rider and passenger) have been paired and are actually connected to the vehicle.


WARNING: IF NO HEADSET IS CONNECTED TO THE VEHICLE NO MULTIMEDIA FUNCTION WILL WORK PROPERLY. WHEN A SMARTPHONE IS CONNECTED TO THE APRILIA MIA' SYSTEM ALL THE AUDIO STREAM ARE DIRECTED TO IT BY DEFAULT SO IT'S NOT POSSIBLE TO LISTEN AUDIO FROM SMARTPONE SPEAKERS OR HEADSET DIRECTLY CONNECTED TO THE SMARTPHONE UNLESS THE DESTINATION OF AUDIO IS MANUALLY SWITCHED.


WARNING: REMOTE VOLUME CONTROL MAY HAVE BEEN DISABLED BY THE HEADSET MANUFACTURER OR IMPLEMENT A PROPETARY PROTOCOL. FOR SUCH A REASON IN SOME CASES THE MIA SYSTEM MAY BE UNABLE TO REALIZE VOLUME CONTROL FROM THE HANDLEBAR.


APRILIA SXR, RS/TUONO 125 Euro5


Music management

Play-Pause music -> short press

Next track -> long press (with music in play status)

Previous track -> double press


Voice management

Answer incoming call -> short press

Reject incoming call -> long press

Recall last missed -> long press

Dismiss lost call icon -> short press

Activate voice assistant -> double press with music in pause (not available on PMP3 vehicles)


FUNCTIONS MANAGEMENT AT KEY OFF

On predisposed vehicles (PMP3 equipped vehicles), it is possible to connect with the app to the vehicle even in key off conditions by enabling the following functions:

  • Find Me: by pressing the dedicated button, within a distance of 70 meters, blinking of the direction indicators and the acoustic signal is activated.
  • Follow Me: by pressing the dedicated button, the headlamp is activated for 30s in order to illuminate the path.


If the app is connected when the vehicle goes at key off, the headlamp will be kept highlighted for 30s as well.

3. VEHICLE MANAGEMENT

Your vehicle has been successfully connected

Now that your APRILIA has been connected, you can access all the vehicle data simply by selecting the main button on the screen.


Remember, if your APRILIA is not connected to your smartphone,  you can still access  the saved data of your last 30 trips and the overall aggregated data from the ‘Statistics’ tab.


Connections after pairing

Every time you use your APRILIA, please remember to connect it to the app in order to save your trip statistics. After the first connection, if the app stays active or opened in background it will reconnect automatically as soon as you start again the dashboard.


Vehicle connected

This screen shows all the data and stats related to your APRILIA.


Data from your APRILIA


For your safety while riding the Interaction with the smartphone touch is disabled by default. Even if strongly discouraged, under your responsibility, you can turn off the screen lock by accessing the menu -> settings -> user preferences.


Total Mileage

The total mileage of your APRILIA, as recorded by your dashboard even when not using the app. It is synchronized at every connection


App Mileage

The total mileage travelled with the App connected to your APRILIA


Average consumption

The indicator of the average fuel consumption achieved during your trips traveled with the app connected.


Activities

It shows the main activities and the most recent notifications from your vehicle. In this section you can display a detailed log of your activities.


Vehicle data


Total travel time

It shows your total travel time specifying the number of hours and minutes that you've spent riding your APRILIA while connected to the app.


Average speed

The average speed achieved when using the app during the last 30 trips.


Average Consumption

This graph shows the average consumption of your last 30 trips


Your stats and activities can be reset using the specific button only when your vehicle is not connected.


The units can be changed from metric to imperial measurement systems from the settings menu of the app.

Maintenance


Next servicing

It shows the number of kilometers left before your next servicing is due. When you approach or overcome the threshold, a notification will appear. Then, you can confirm you have serviced your vehicle to update the countdown to your next service.


Battery level

It shows the latest battery voltage registered. When your battery is running low, you'll receive a notification.

4. LIVE TRACKING

This screen shows the data tracked by your APRILIA in real time while traveling. Remember that you can access such data only when your vehicle is connected to the App.


Dials


- Instant fuel consumption indicator

- Rear wheel slip percentage

- Vehicle accelerations (g-g diagram)

- Engine power

- Lean angle


Secondary indicators of a single ride (reset every time the app gets disconnected)

- Distance

- Average speed

- Average consumption

- Throttle opening

- Trip evaluation

- Abs status

- Traction control level

NAVIGATION MANAGEMENT


Some models are provided of integrated navigation management able to transfer the turn-by-turn indications from the smartphone app to the vehicle dashboard.


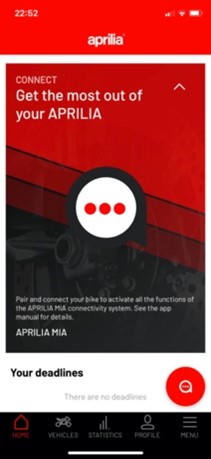
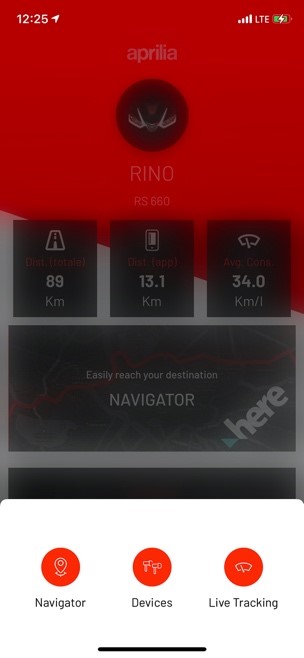
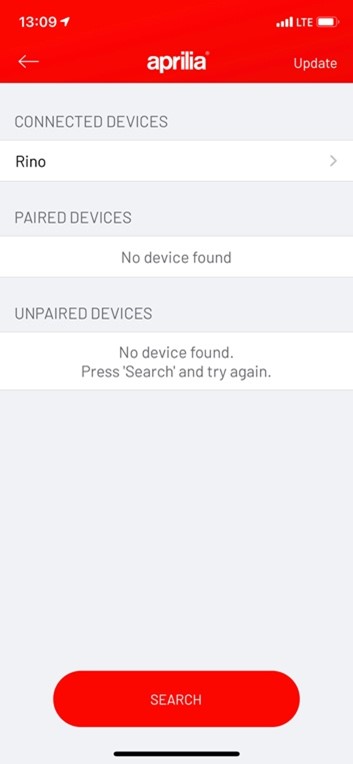
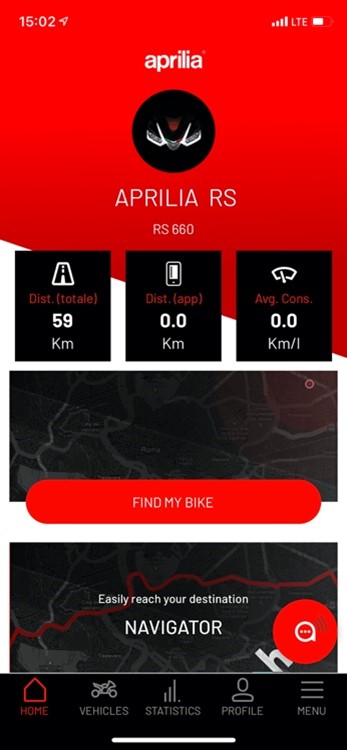
After the first successful connection of the app, the navigation function will be enabled and can be accessed from the dedicated widget in the home page or in the sub-menu opened by pressing the main button (only while connected).


It is possible to use the function when the app is not connected to vehicle but, in order to exploit its full potential, is suggested to have it linked with the vehicle.


If connected, as soon as a destination is selected and the navigation is started from the app, the dashboard will switch automatically to the dedicated navigation page and the info will start to be updated on it.


At any time it is possible to switch from the 'navi' page to the standard 'drive' page according to the procedures established for the specific vehicle.


For the RS660 vehicle it is possible, once routes have been started or saved, to recall them directly from the vehicle dashboard by scrolling through the various possible destinations with the up and down buttons  of the selector and starting navigation by long pressing the left button.


Similarly, during navigation, it is possible to skip an intermediate destination or interrupt the navigation itself by first using the up and down buttons of the selector to access the desired action and then select it by long pressing the left button.


The navigation function is free of charge for three years from the first visualization of the map and the expiration date is reported in the ‘menu’ page.


On iOS devices it is needed to open at least once the navigation page every time the app is started for enabling the navigation function on the bike.


The renewal of the function will be optional and managed through in-app purchase.

Non-intrusive reminders, instructions and related costs will be sent on the app approaching the expiration date.


At moment the navigation function is subjected to mobile data availability and effective GPS coverage.


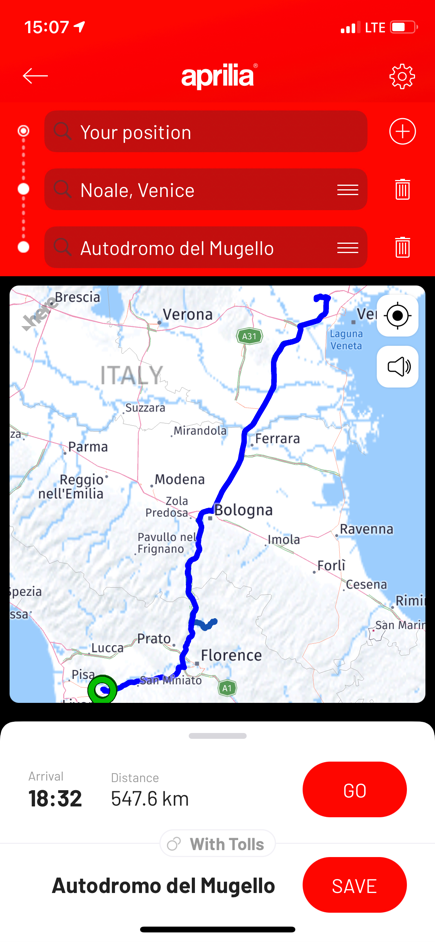
Before selecting your destination, you can set your trip preferences and choose and download the language of your voice instructions from the specific navigation setting.


Once in navigation mode, the dashboard will present the indications represented below with the following meaning:


A – Pictogram indicating the most imminent maneuver. In case of roundabout pictograms, the number indicates the exit number counted by ignoring the ones not allowed. The arrow indicates the approximate exit direction angle respect to the roundabout entry road.


B – Pictogram indicating the maneuver following ‘A’ and its distance from ‘A’. In this area also possible traffic control cameras will be represented.


C – Time and distance at arrival


D – Distance from maneuver ‘A’


E – Speed limit detected by the navigation function: must be considered as a generic indication. Always respect the actual speed limit indicated by the traffic signal


F – Address of the road or signpost indication of maneuver ‘A’


G – Array of icons indicating (left to right):

                Connection of the app to the dashboard

                Number of headsets connected to the bike

                Connection of the smartphone music and voice functions to the bike


In some Countries the visualization of speed cameras position is not allowed by the law (eg. France, Germany, Austria) and, even if present, the indication may still be wrong.


The vehicle dashboard supports Latin alphabet only. For such a reason any string related to song titles incoming call id and road names coming in other not supported languages won’t be represented.

If the smartphone language selected by the user is not supported by the dashboard (eg. Greek, Russian, Chinese, Japanese…), the navigation maps and info will be translated in English when an equivalent indication is available.